Setting up Google’s reCAPTCHA v3
Creating an account for Google reCAPTCHA is a crucial measure to boost your website’s defense against spam and malicious behavior. This guide from Corvus Code will walk you through the straightforward process of registering your site and acquiring the essential site and secret keys needed for embedding reCAPTCHA into your forms or applications. For detailed implementation instructions and options for customization, it’s advisable to consult the official documentation for Google reCAPTCHA.
Should you prefer to bypass the setup process, please don’t hesitate to reach out to us, and we can manage the integration on your behalf.
Let’s get to it!
Step 1: Sign in with your Google Account
We recommend you use a single Google account to set up all of Google’s services. This will make management easier in the future.
- Open your preferred web browser and navigate to ↗ Google.com
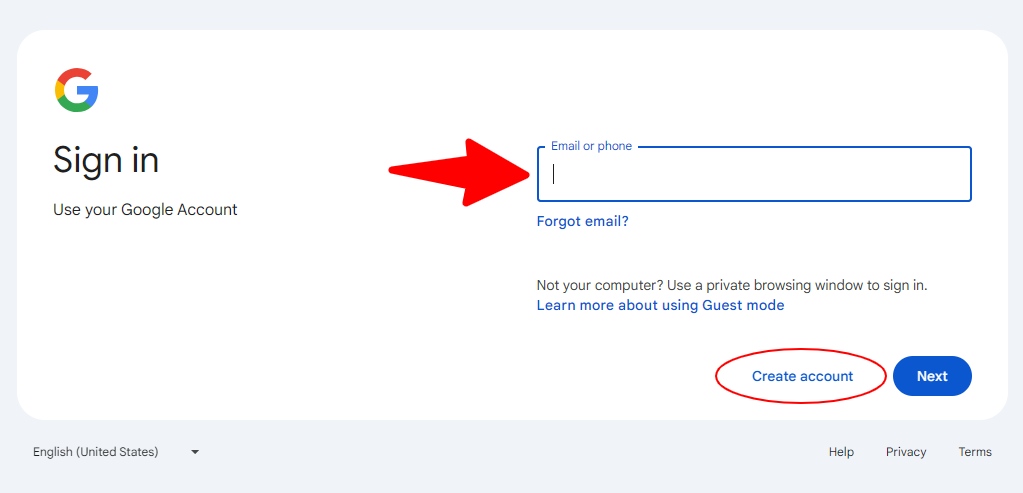
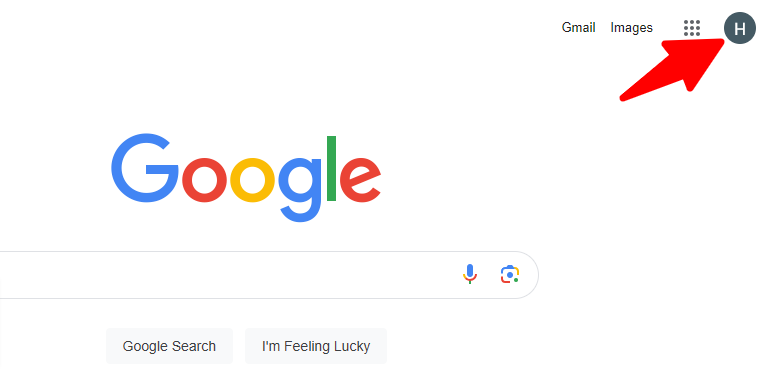
- If you’re not already signed in to your Google Account, click on the “Sign in” button.
- On the next page enter your email address and click on “Next” then enter your password to sign in.
- If you don’t have a Google Account, click on the “Create Account” link to create one.
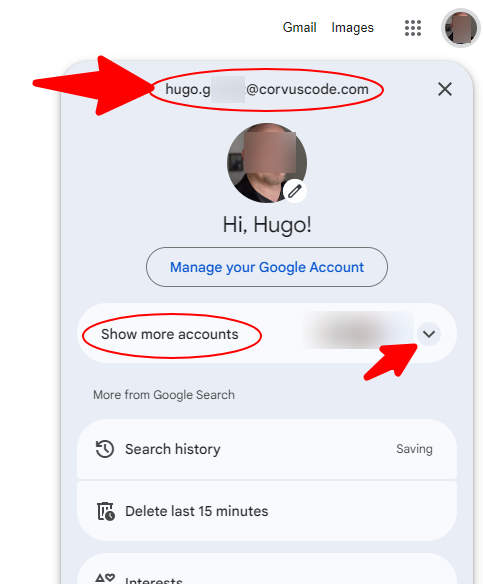
- Confirm that you’re logged in with the account that you’ll use for all your Google services.
- If you’re not logged in with your preferred account, log out and try again; or you may select one of your other logged in accounts. Don’t go into the next step until you’re logged in with the intended account.
Step 2: Access the reCAPTCHA website
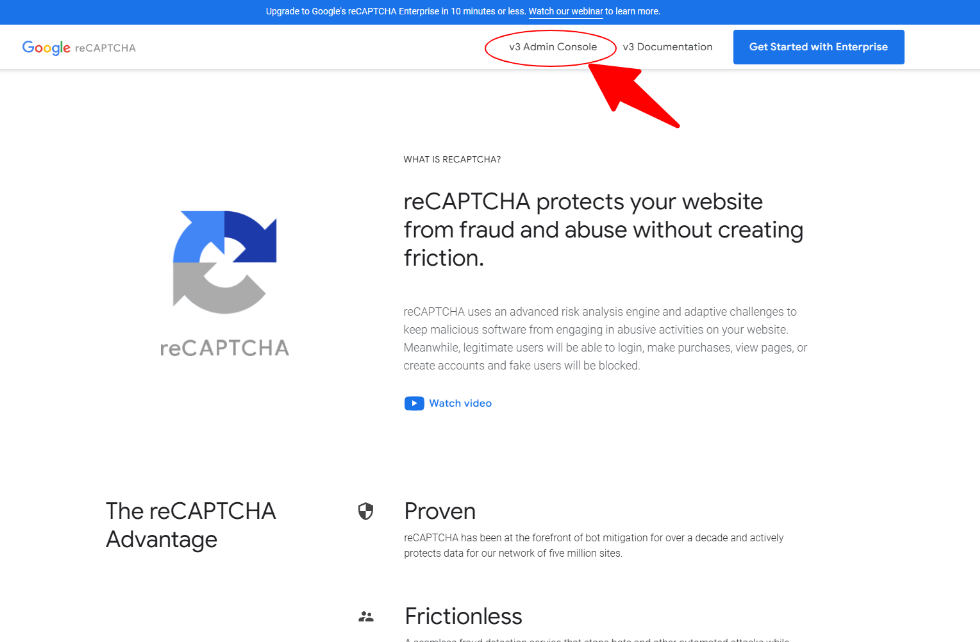
- Navigate to the Google reCAPTCHA website: ↗ reCAPTCHA (google.com)
- Click on the “v3 Admin Console” button in the top bar.
Step 3: Register your website
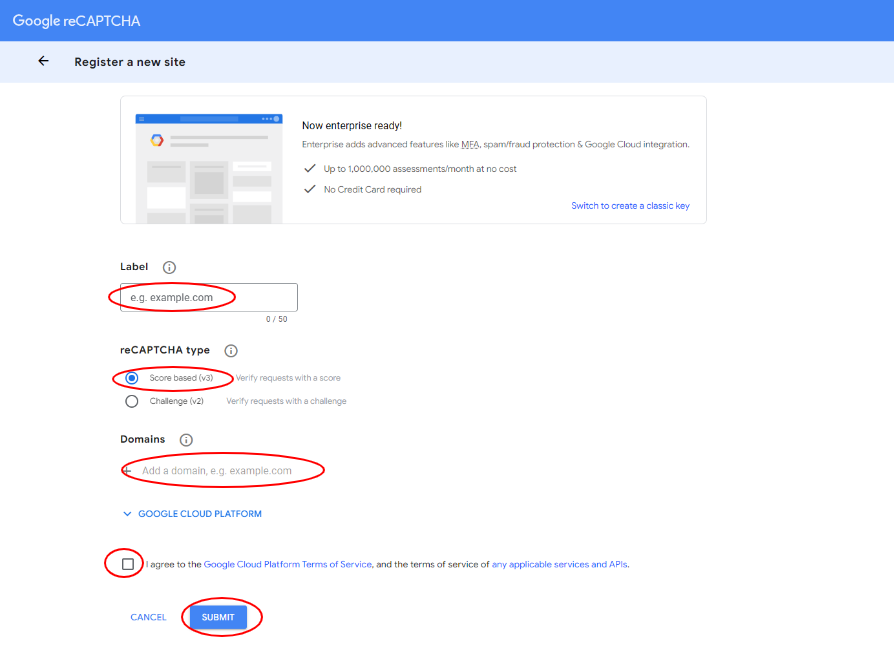
- If this is the first domain you register, you’ll be taken directly to the Register a new site page. Otherwise, if you already other site(s) registered, then on the reCAPTCHA Admin Console page, click the “+ button” (create) to add a new website.
- On the “Register a new site” page, enter a label for your website to identify it within the reCAPTCHA dashboard (e.g. mydomain website)
- Choose the reCAPTCHA type you want to use (reCAPTCHA v3 recommended).
- Add the domains where you intend to use reCAPTCHA. For example, if your website is “www.example.com,” enter “example.com.”
- Accept the reCAPTCHA Terms of Service.
- Click on the “Submit” button to register your website.
Step 4: Obtain your site key and secret key
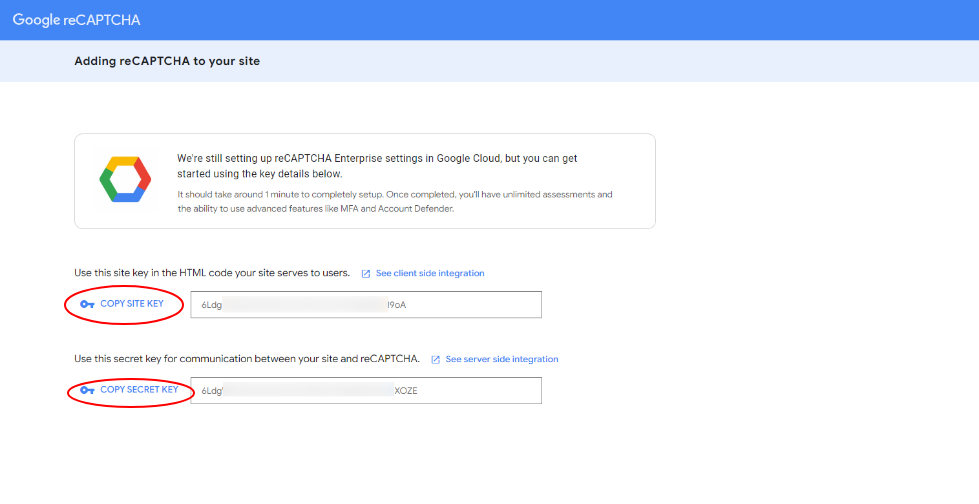
- After successfully registering your website, you’ll be redirected to the “reCAPTCHA Settings” page.
- Locate the site key and secret key displayed on this page.
- These keys will be required to integrate reCAPTCHA into your website’s forms or applications.
If you’re a customer of ours, then this was your last step, you just need to provide the keys to your account manager and you’re good to go.
If you’re doing this on your own, then continue…
Step 5: Integrate reCAPTCHA into your website
- With the obtained site key and secret key, follow the implementation instructions provided by Google reCAPTCHA. You can find detailed documentation and code samples on the reCAPTCHA website.
- Depending on your website’s platform and development stack, you may need to modify your existing forms or applications to include the reCAPTCHA verification.
- Take into consideration that you may need to update your site’s privacy policy and that you should put a reference to Google’s Privacy and TOS pages. Check the reCAPTCHA website for further information.


